
TINYFAB × BAMBU LAB
TinyFab Filament Profiles
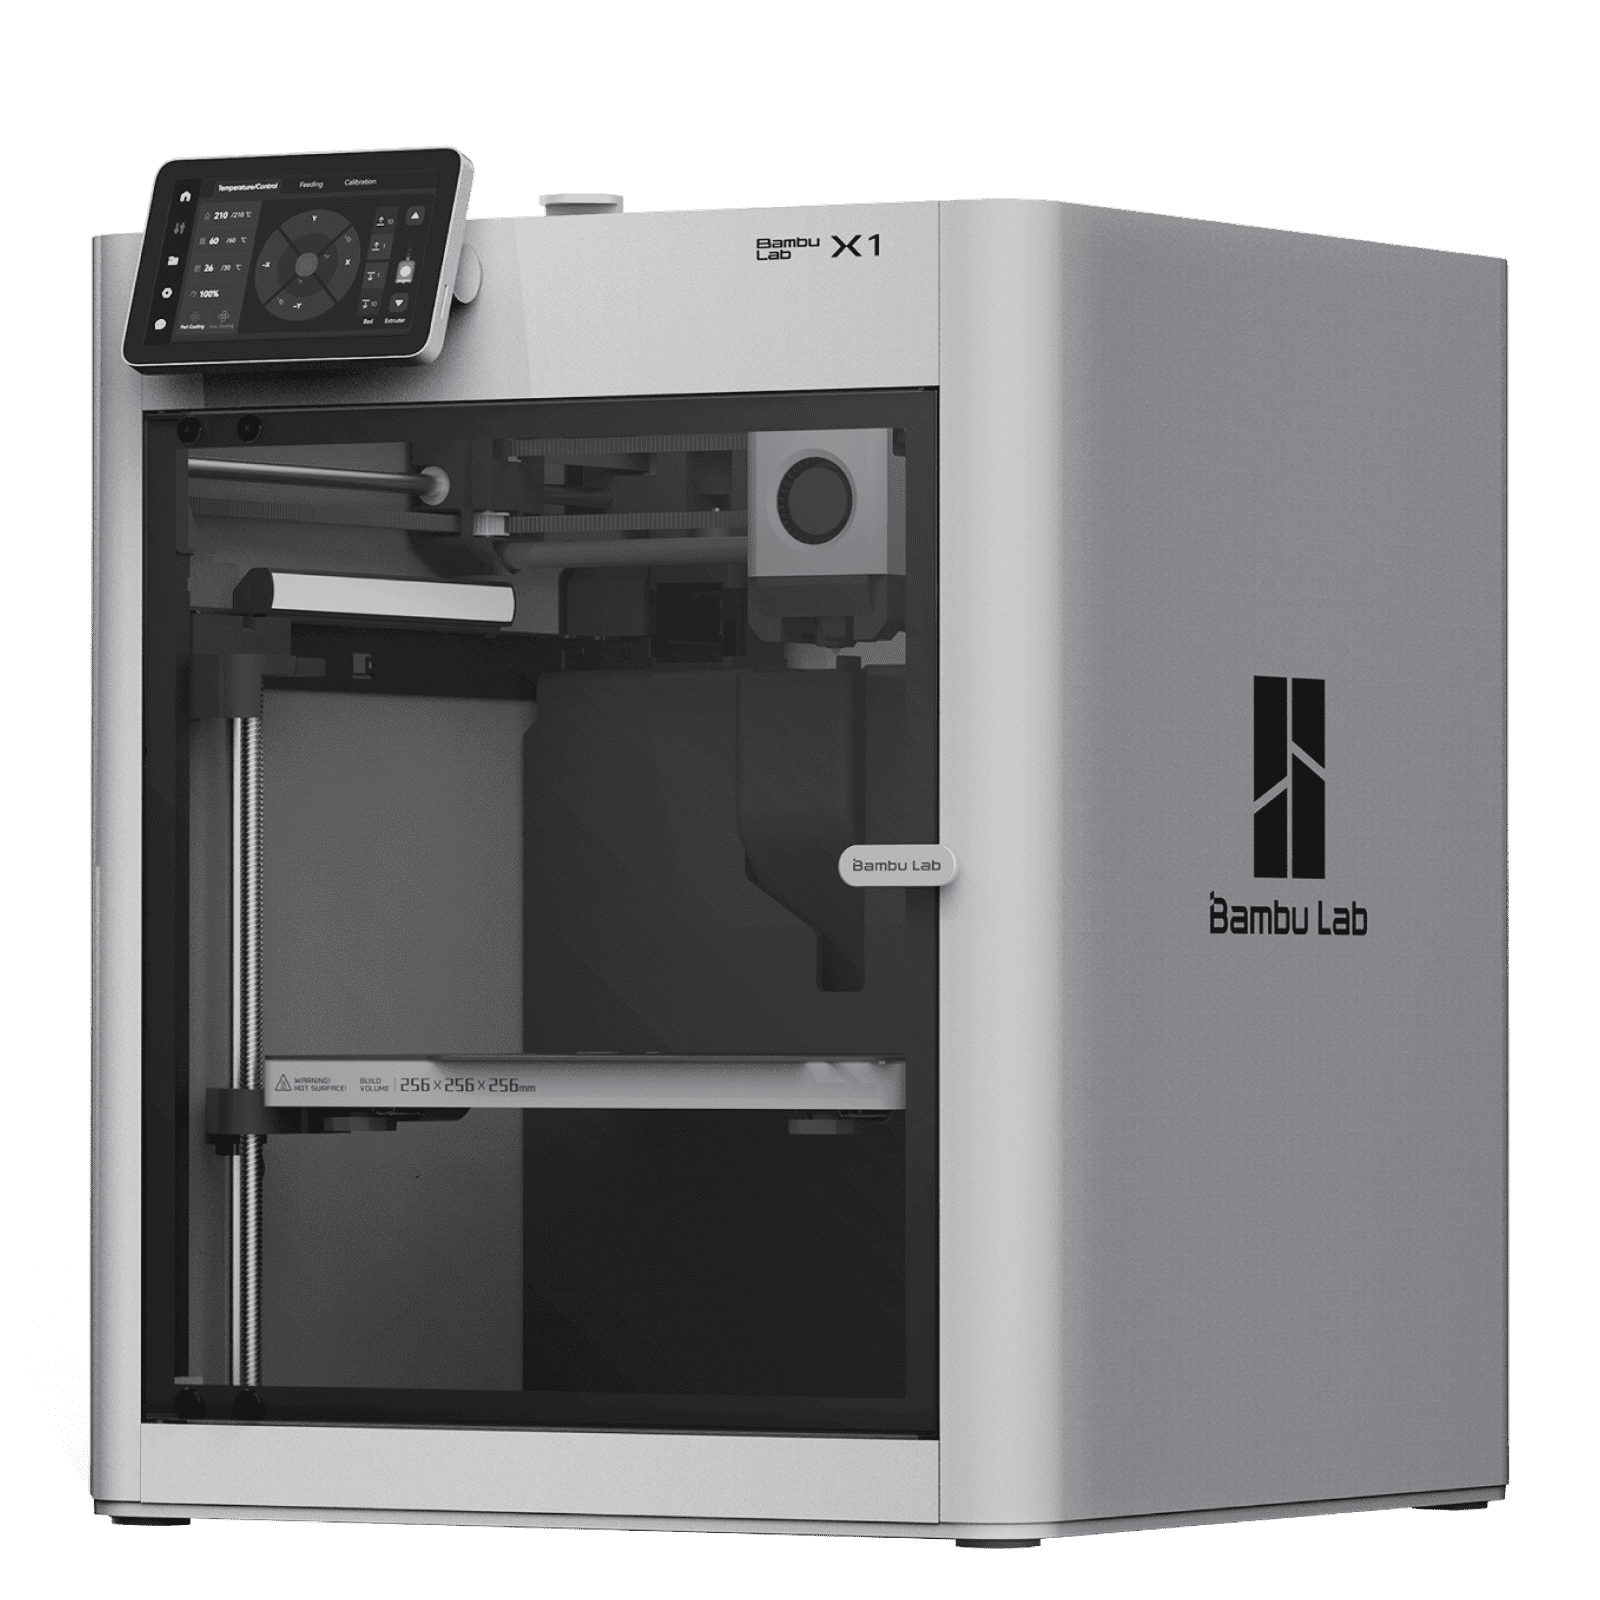
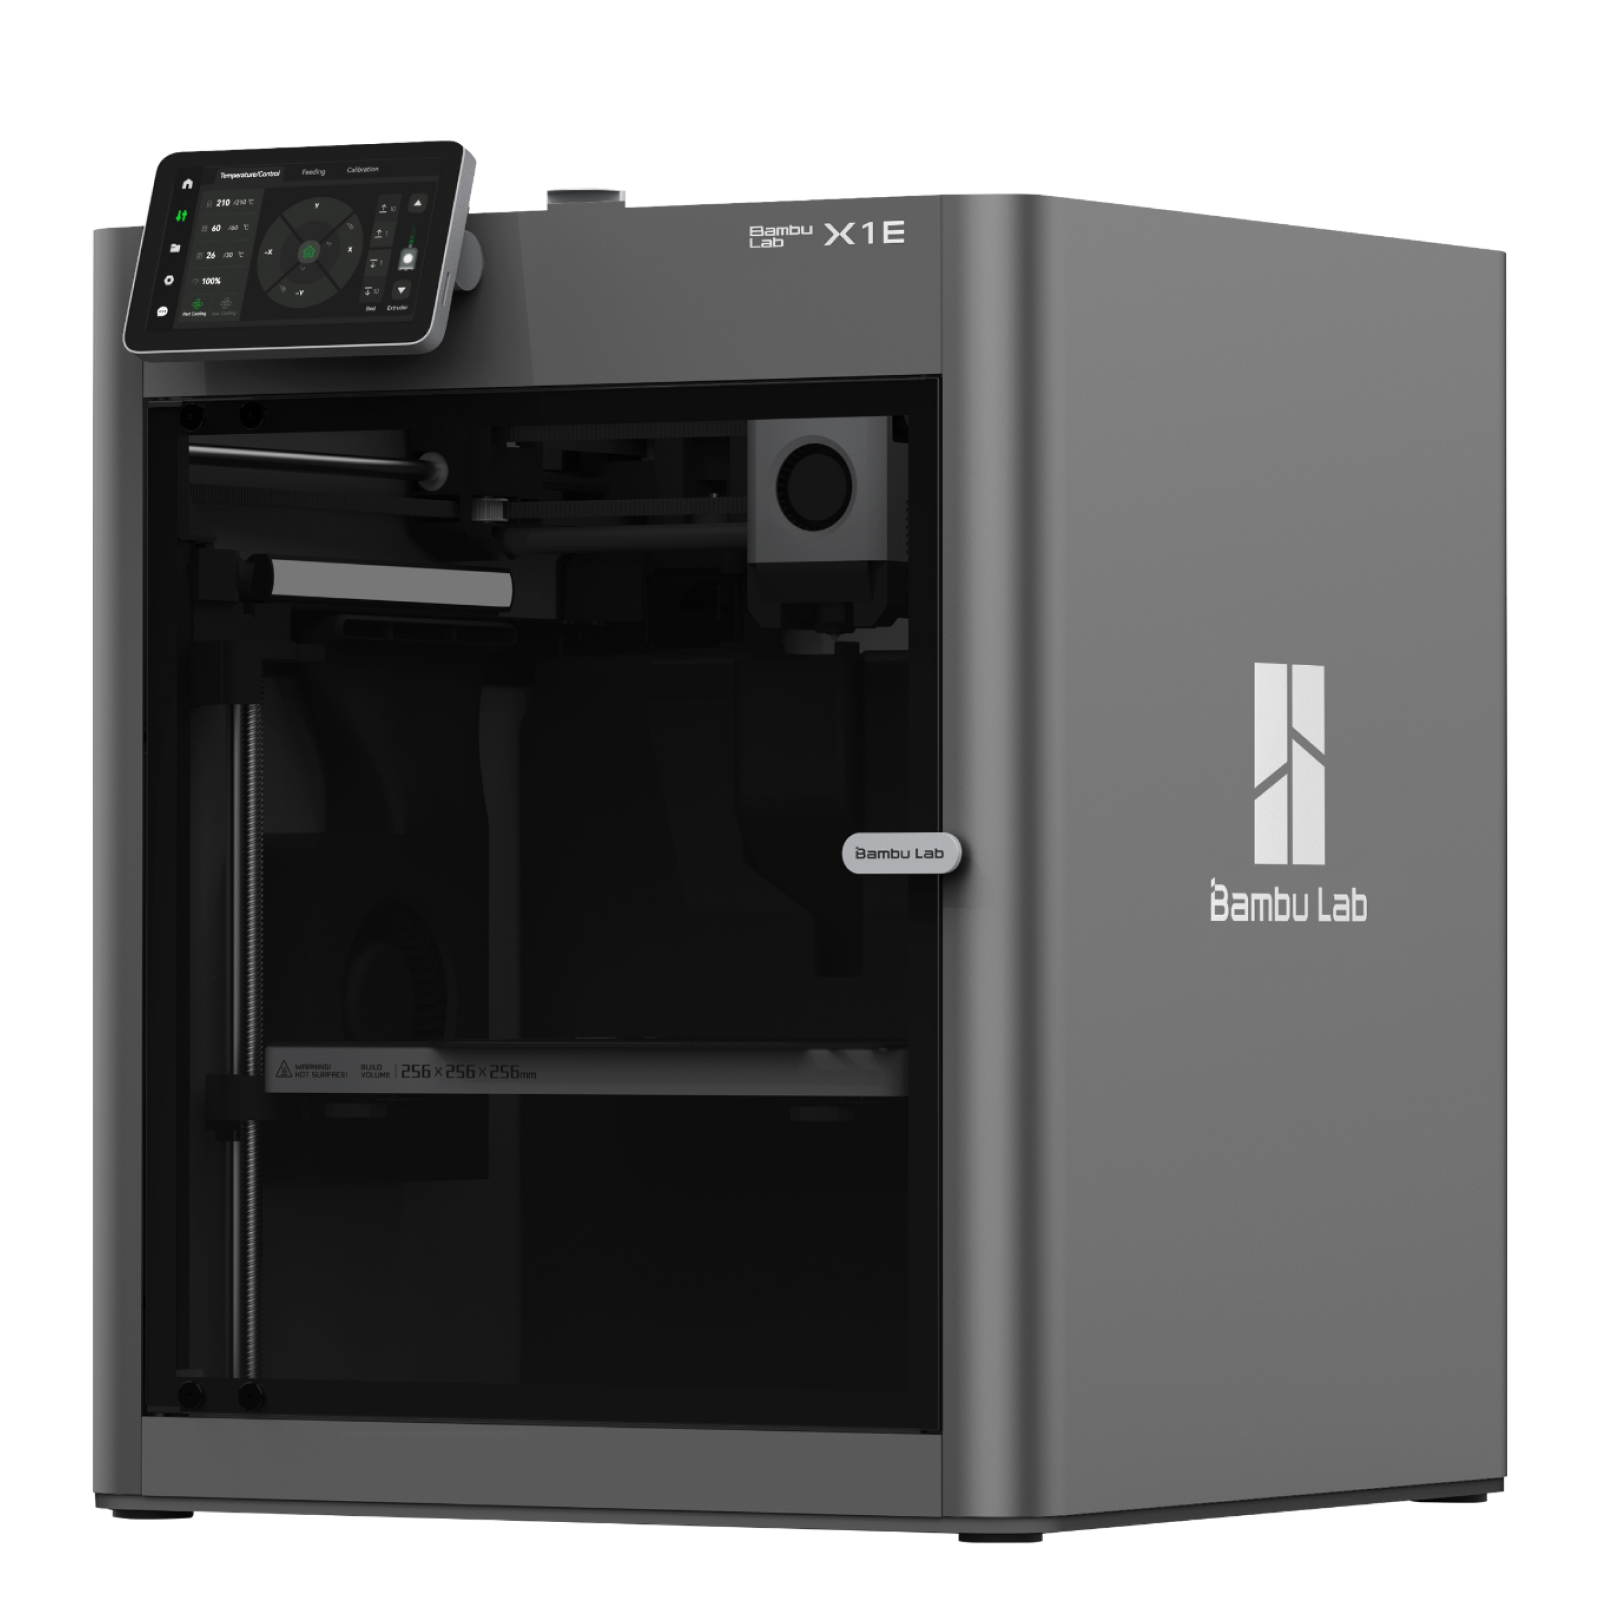
Choose your printer for a filament profile optimised by TinyFab.
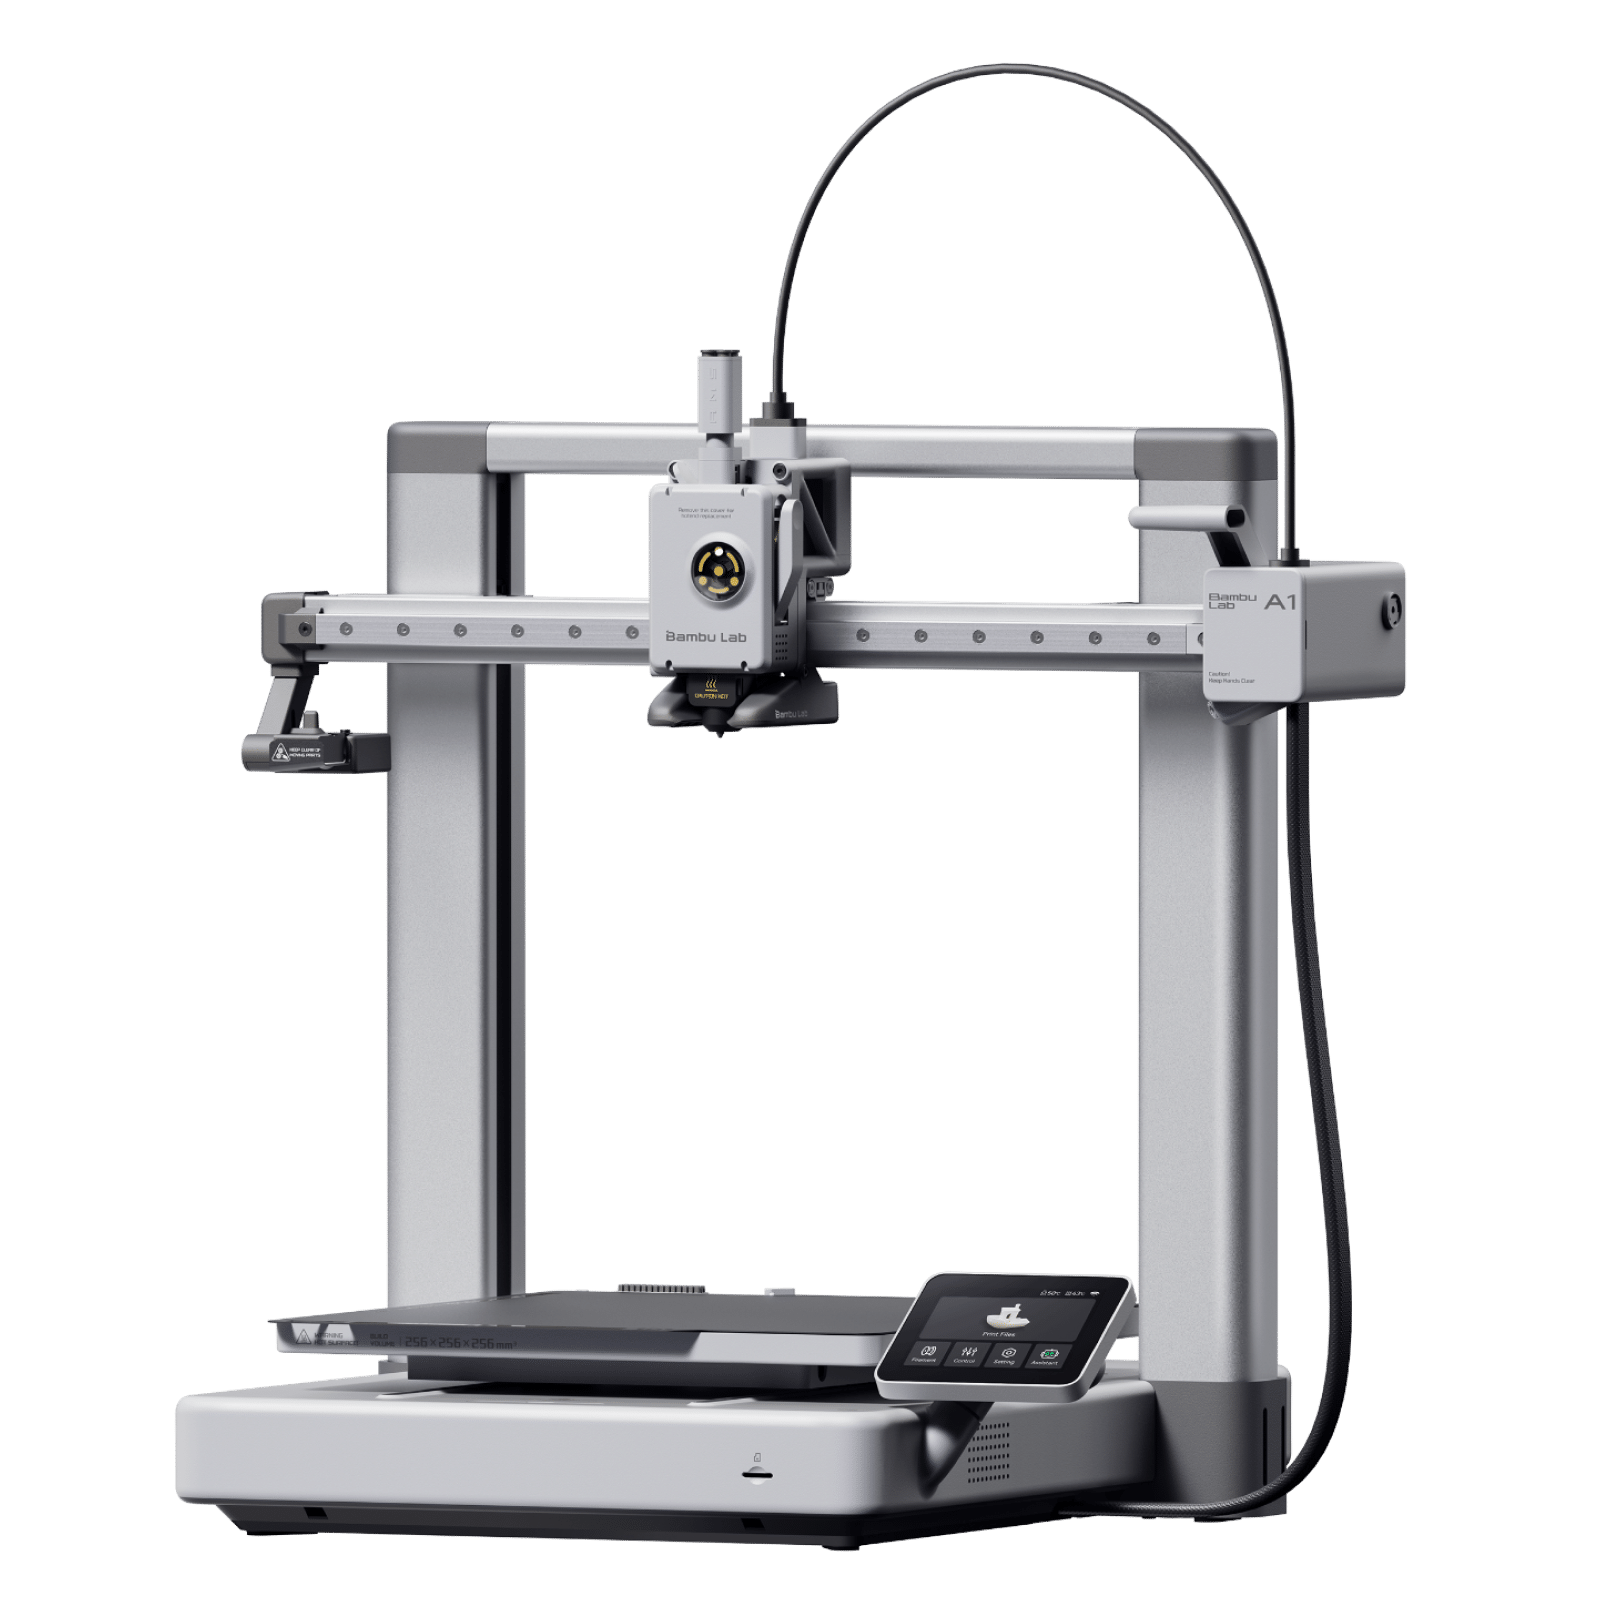
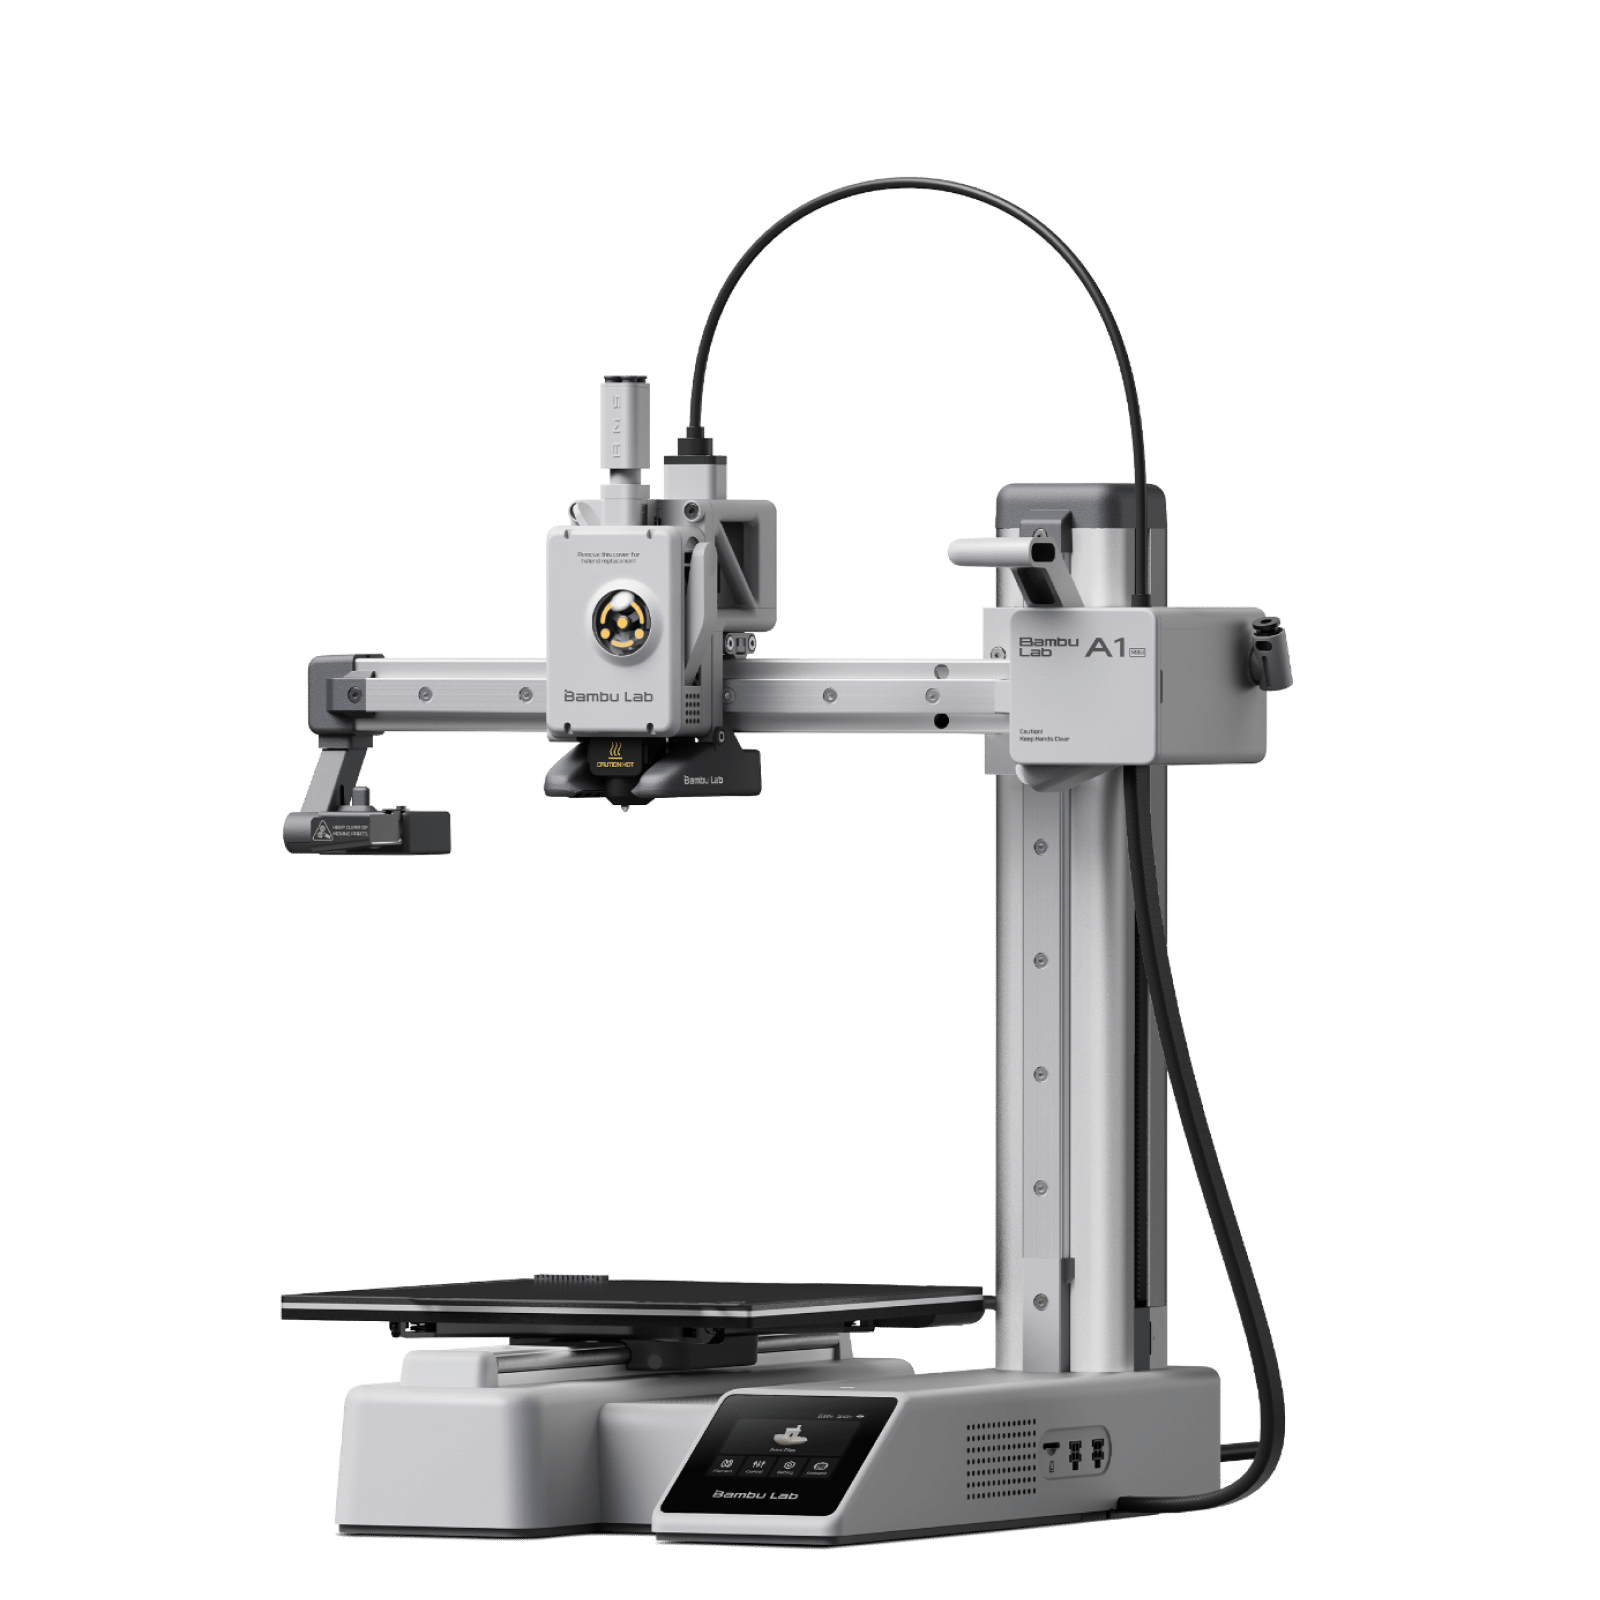

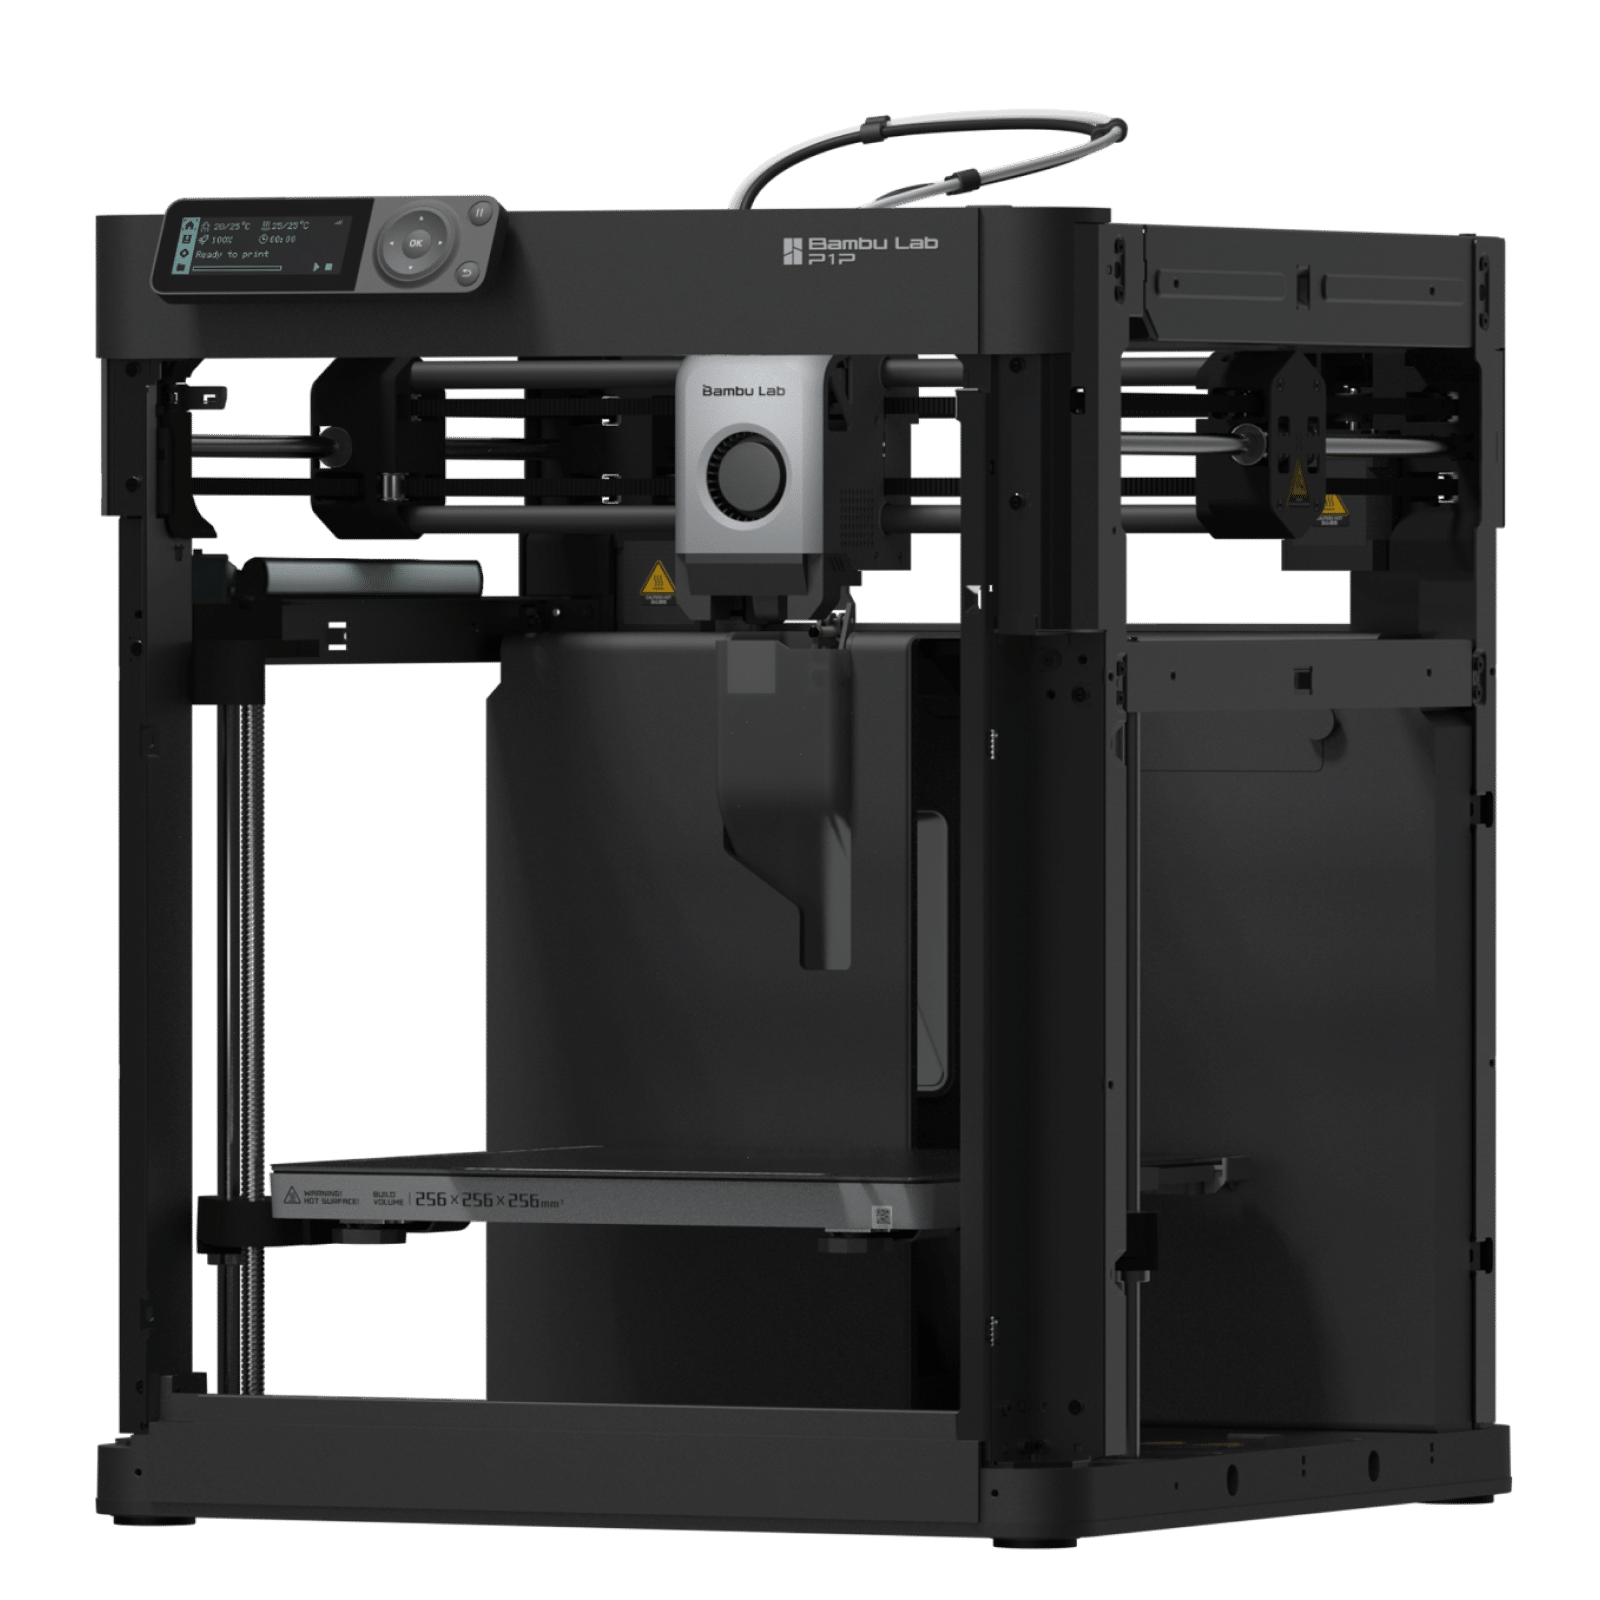
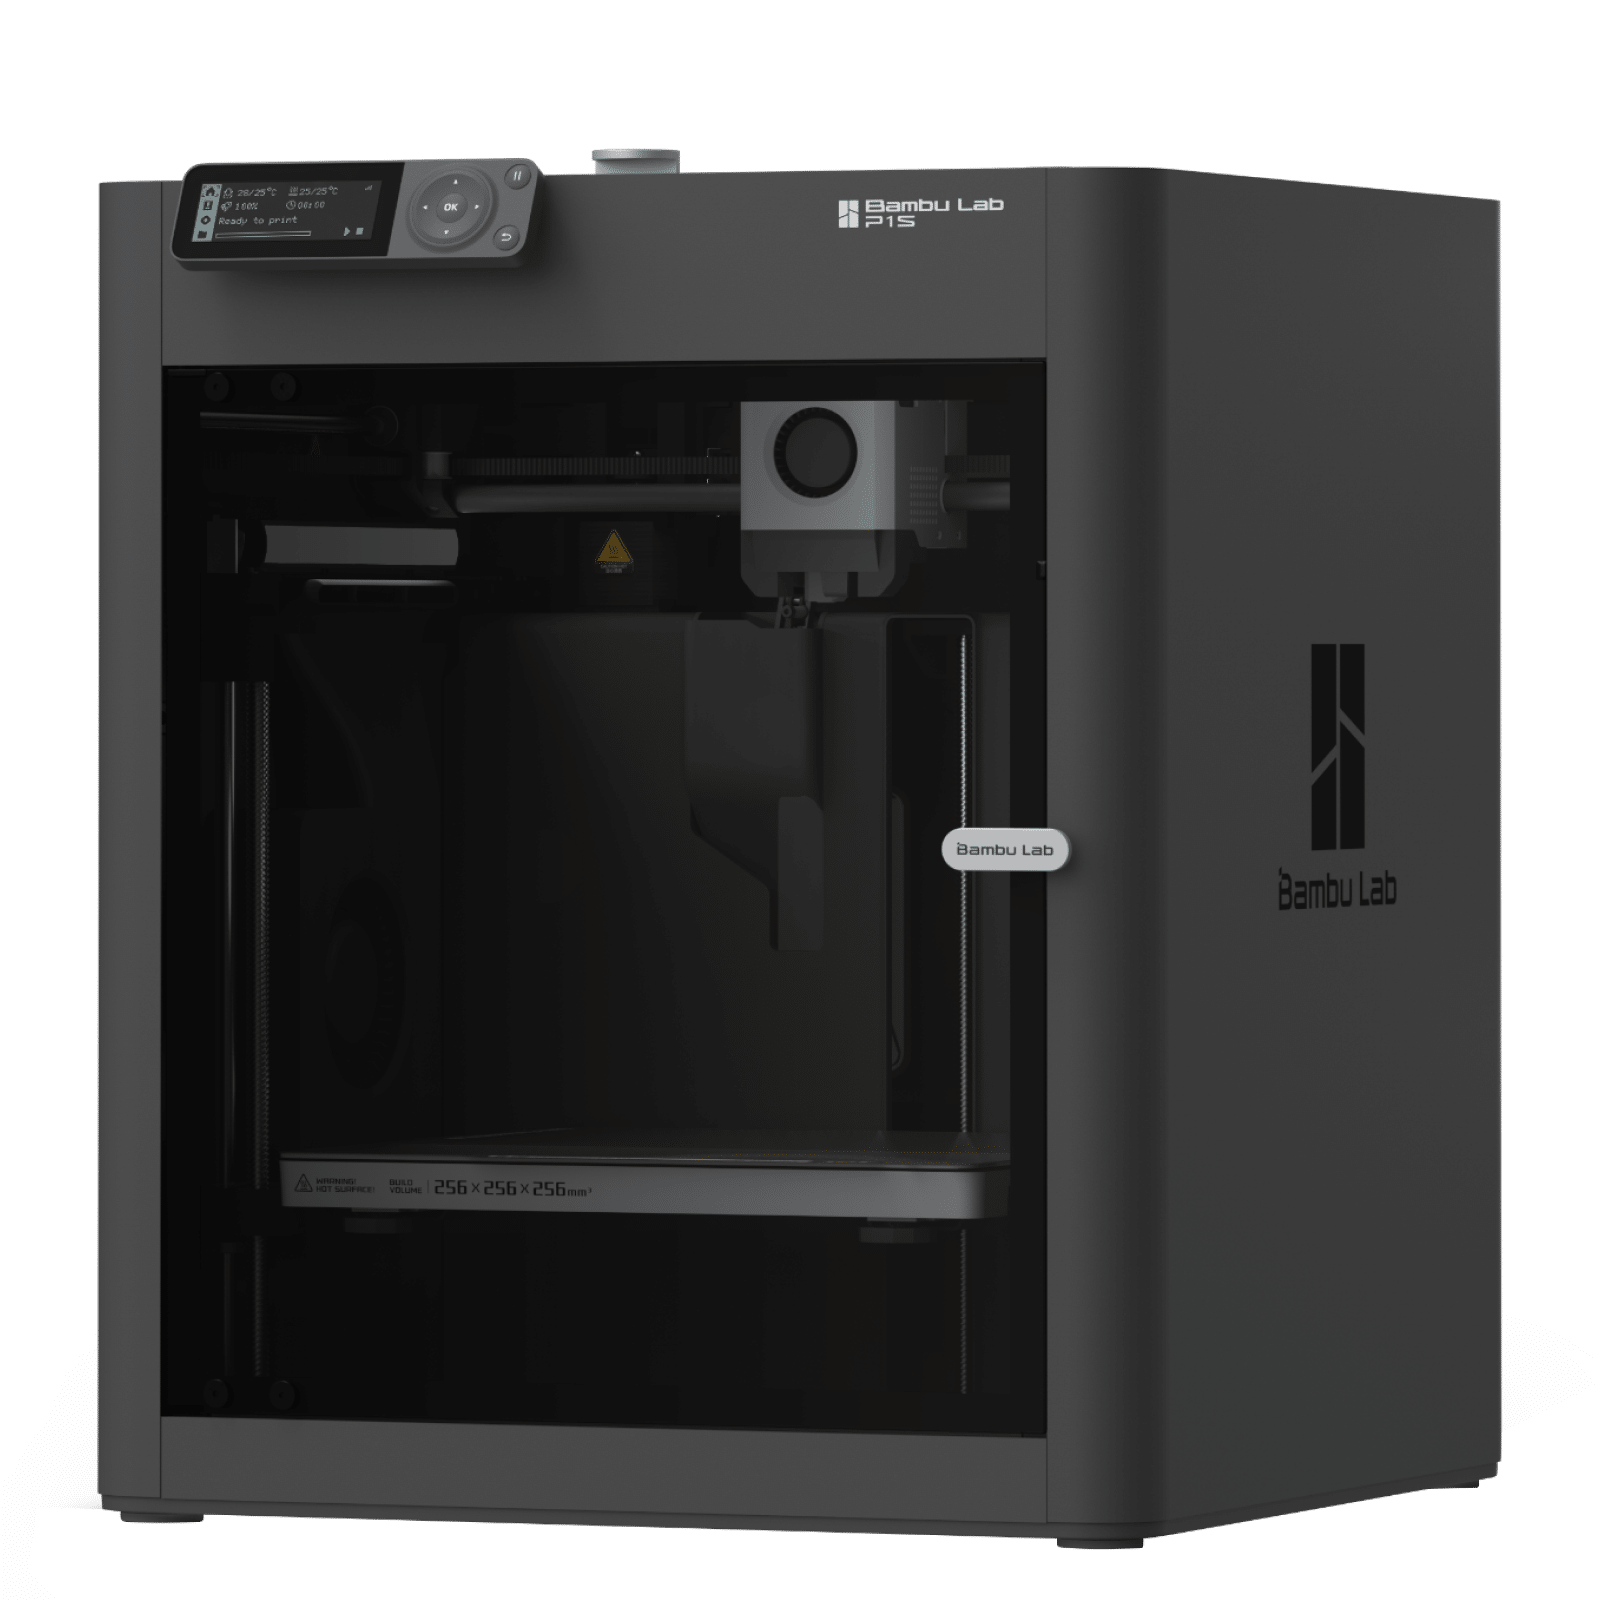



HOW TO INSTALL
Add a profile to Bambu Studio
Download the JSON for your printer, 0.4 mm nozzle and material. Follow the first two steps to start slicing; AMS setup is optional. Screenshots show H2D as an example and may differ by printer or Bambu Studio version.
-
01

Import your downloaded JSON
Select your printer above, then download the matching material profile. In Bambu Studio, choose File → Import → Import Configs… and select the downloaded .json file.
-
02

Select the printer and filament
In Prepare, select your printer and 0.4 mm nozzle, then choose the imported Tinyfab3D profile under Project Filaments. Check the build plate matches the plate you are using. Sync info is optional for a connected printer; check the selected filament again after syncing.
-
03

Optional: edit your AMS slot
If you use AMS, open Device and click the pencil on the slot containing your TinyFab filament. Without AMS, skip these device setup steps and use the imported profile in Prepare.
-
04

Optional: confirm the slot material
Where supported, choose Tinyfab3D and the matching material, then confirm. This screenshot shows PLA Basic; choose PETG for a PETG spool. The AMS slot setting does not replace the slicing preset: return to Prepare, verify the imported profile and map the correct slot when sending your print.


